Bot Integrations
General
With the Bot Integrations module you can easily integrate different Bot Services on your SharePoint site and enable your users to interact with chatbots directly within SharePoint.
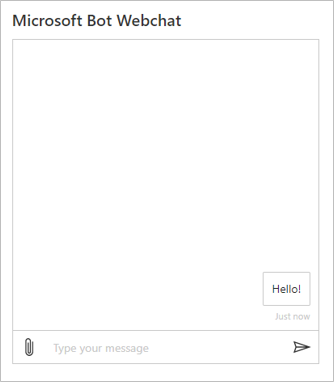
The Bot Integrations module includes the web part Microsoft Bot Webchat and an integration of the Microsoft Bot Webchat as a dialog.
Microsoft Bot Webchat web part
With the Microsoft Bot Webchat web part, you can easily embed a Microsoft Azure chatbot on your SharePoint sites.
To integrate a chatbot into SharePoint, an existing Azure Bot Service from Microsoft is required. The creation and setup of the bot has to be done directly with Microsoft tools. More information about creating and building a Bot Service can be found here.

Add the web part to your SharePoint page and select Configure or edit a SharePoint page, hover over the web part and select Edit web part to configure the Microsoft Bot Webchat web part.
Direct Line Settings
Under Direct Line Settings you can configure the Azure Bot in the web part, as well as define settings for the Microsoft Bot Webchat web part.
With Direct Line Secret you can define the key or secret of the Azure Bot that you want to integrate on the page.
TipYou can find the Direct Line Secret for the web part by going to your Azure Bot service in the Azure Portal and by selecting Channels under Settings. Select the option Direct Line from the various channels and choose the option Default_Site below Sites. Under Secret keys you can find the secret that is needed for the integration in the Microsoft Bot Webchat web part. More information can be found here.
With Hide upload button you can define if the button for uploading files is hidden or not.
With Send Typing Indicator you can specify whether the information about writing in the webchat is transmitted to the bot or not.
With Webchat Height you can specify the height of the Microsoft Bot Webchat web part.
The height can be set between 100px and 1000px, depending on your requirements.
Microsoft Bot Webchat dialog
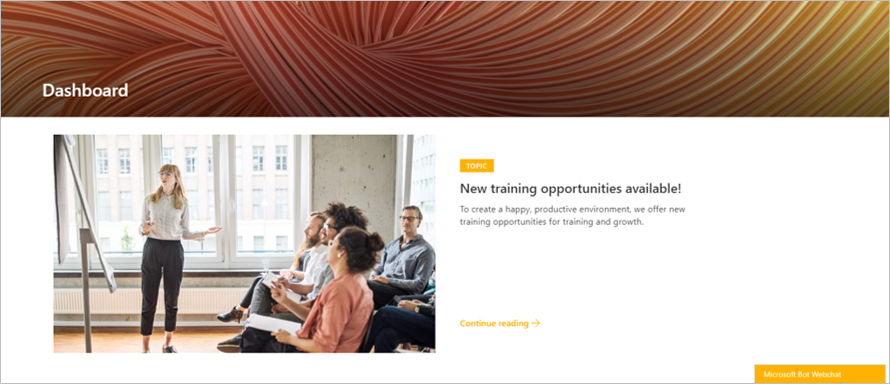
In contrast to the fixed integration of the Microsoft Bot Webchat web part on a page, the Microsoft Bot Webchat can also be displayed as a dialog. The dialog appears at the bottom right corner of the pages on which you want the web part to be available and can be opened by clicking on the button.

To integrate the web part as a dialog, go to the Administration Center. In the Settings section select the Bot Integrations module and click Add Microsoft Bot Webchat. The default settings match the ones of the Microsoft Bot Webchat web part. The corresponding documentation can be found in the web part configuration section. In addition to the default configuration, the dialog allows you to specify on which pages the button for the dialog shall be visible.
If you do not have the Administration Center installed, the dialog settings can also be found via the web part settings. To do this, go to the web part settings of the Microsoft Bot Webchat web part and click Next to get to the second page of the settings. Choose Configure Settings under System Settings to configure the dialog.
The definition of the pages on which the dialog shall be visible is done with the help of a condition.
A condition is a regular expression that is checked against the current URL of the page. For example, the condition ^/sites/portal specifies that the dialog should be displayed on all pages starting with /sites/portal.
More information, as well as a tool for creating and checking regular expressions can be found here.
When restricting the Microsoft Bot Webchat dialog only to site pages (for example by using the condition ^/SitesPages/)
the dialog also appears on the home page, because this is also a site page (usually with the URL /SitePages/Home.aspx).